
Meet Soni Starr — a guitarist who is just starting out teaching. We’ll follow Soni through the setup process from a fresh account.
When you first log in to Soniq Studio, a checklist on your Dashboard guides you through the things you need to get up and running. This article walks you through the first three: setting your prices, adding a student, and filling in your timetable.
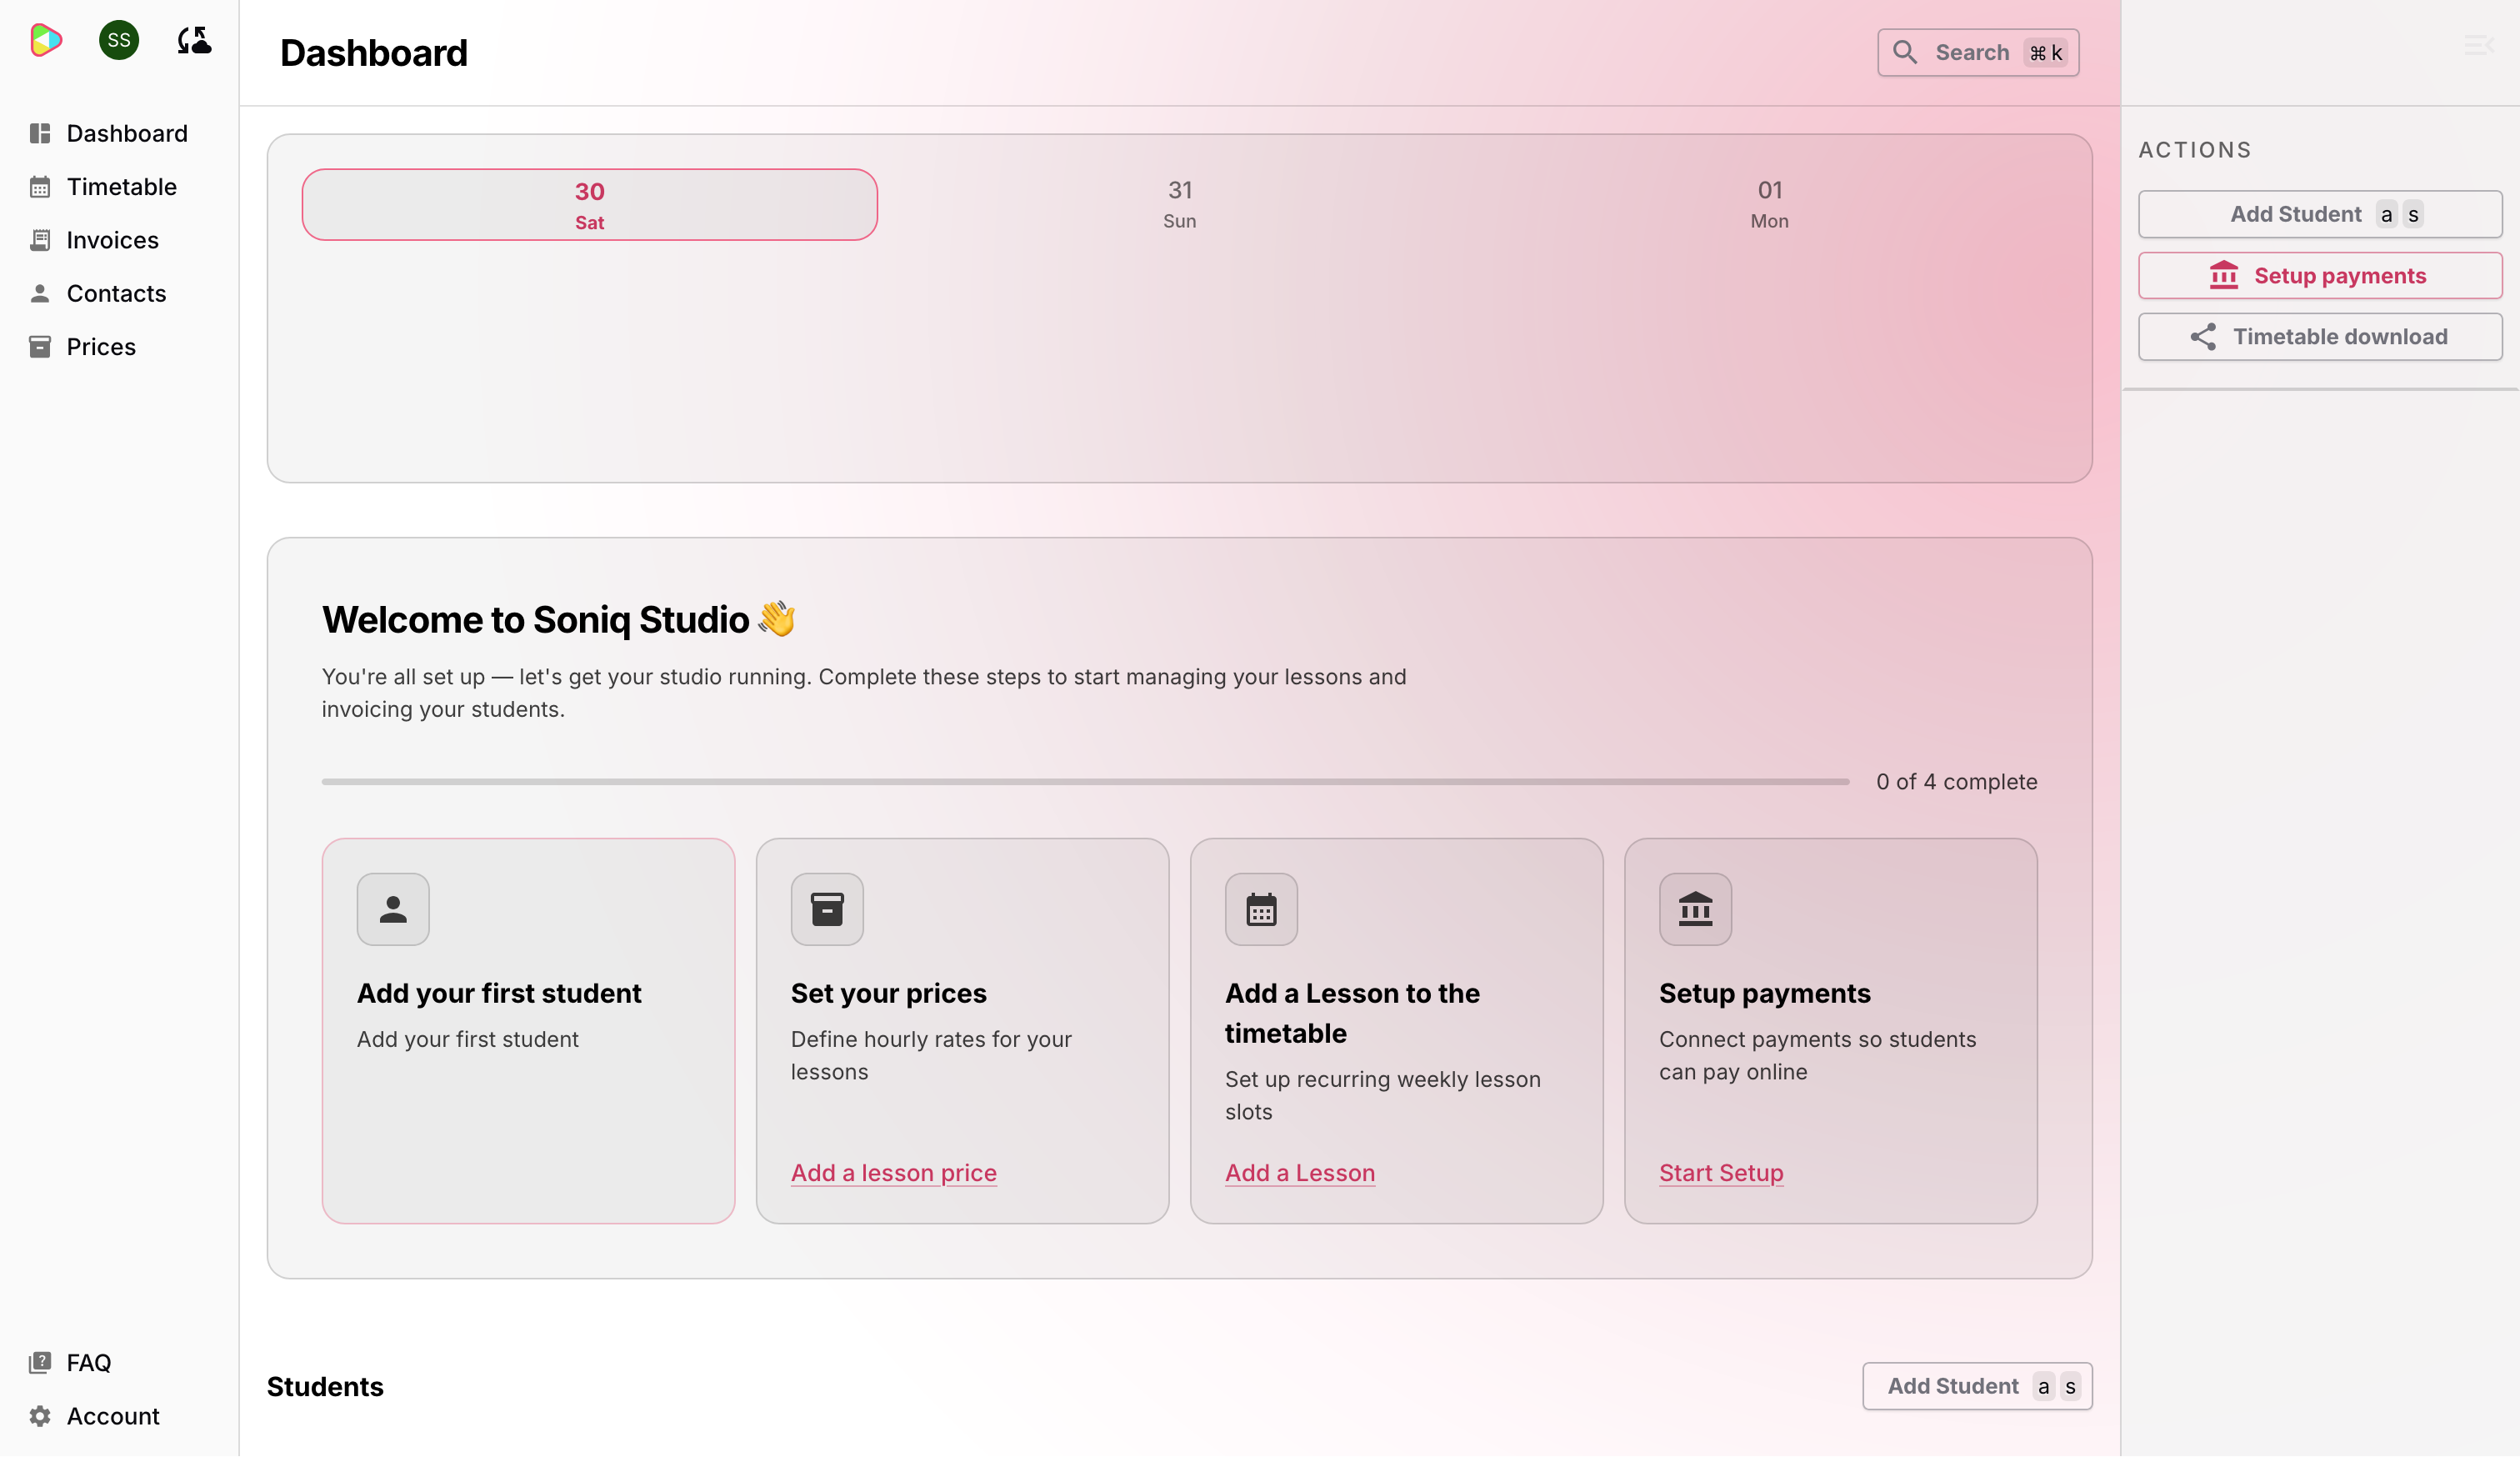
Step 1: Set your prices
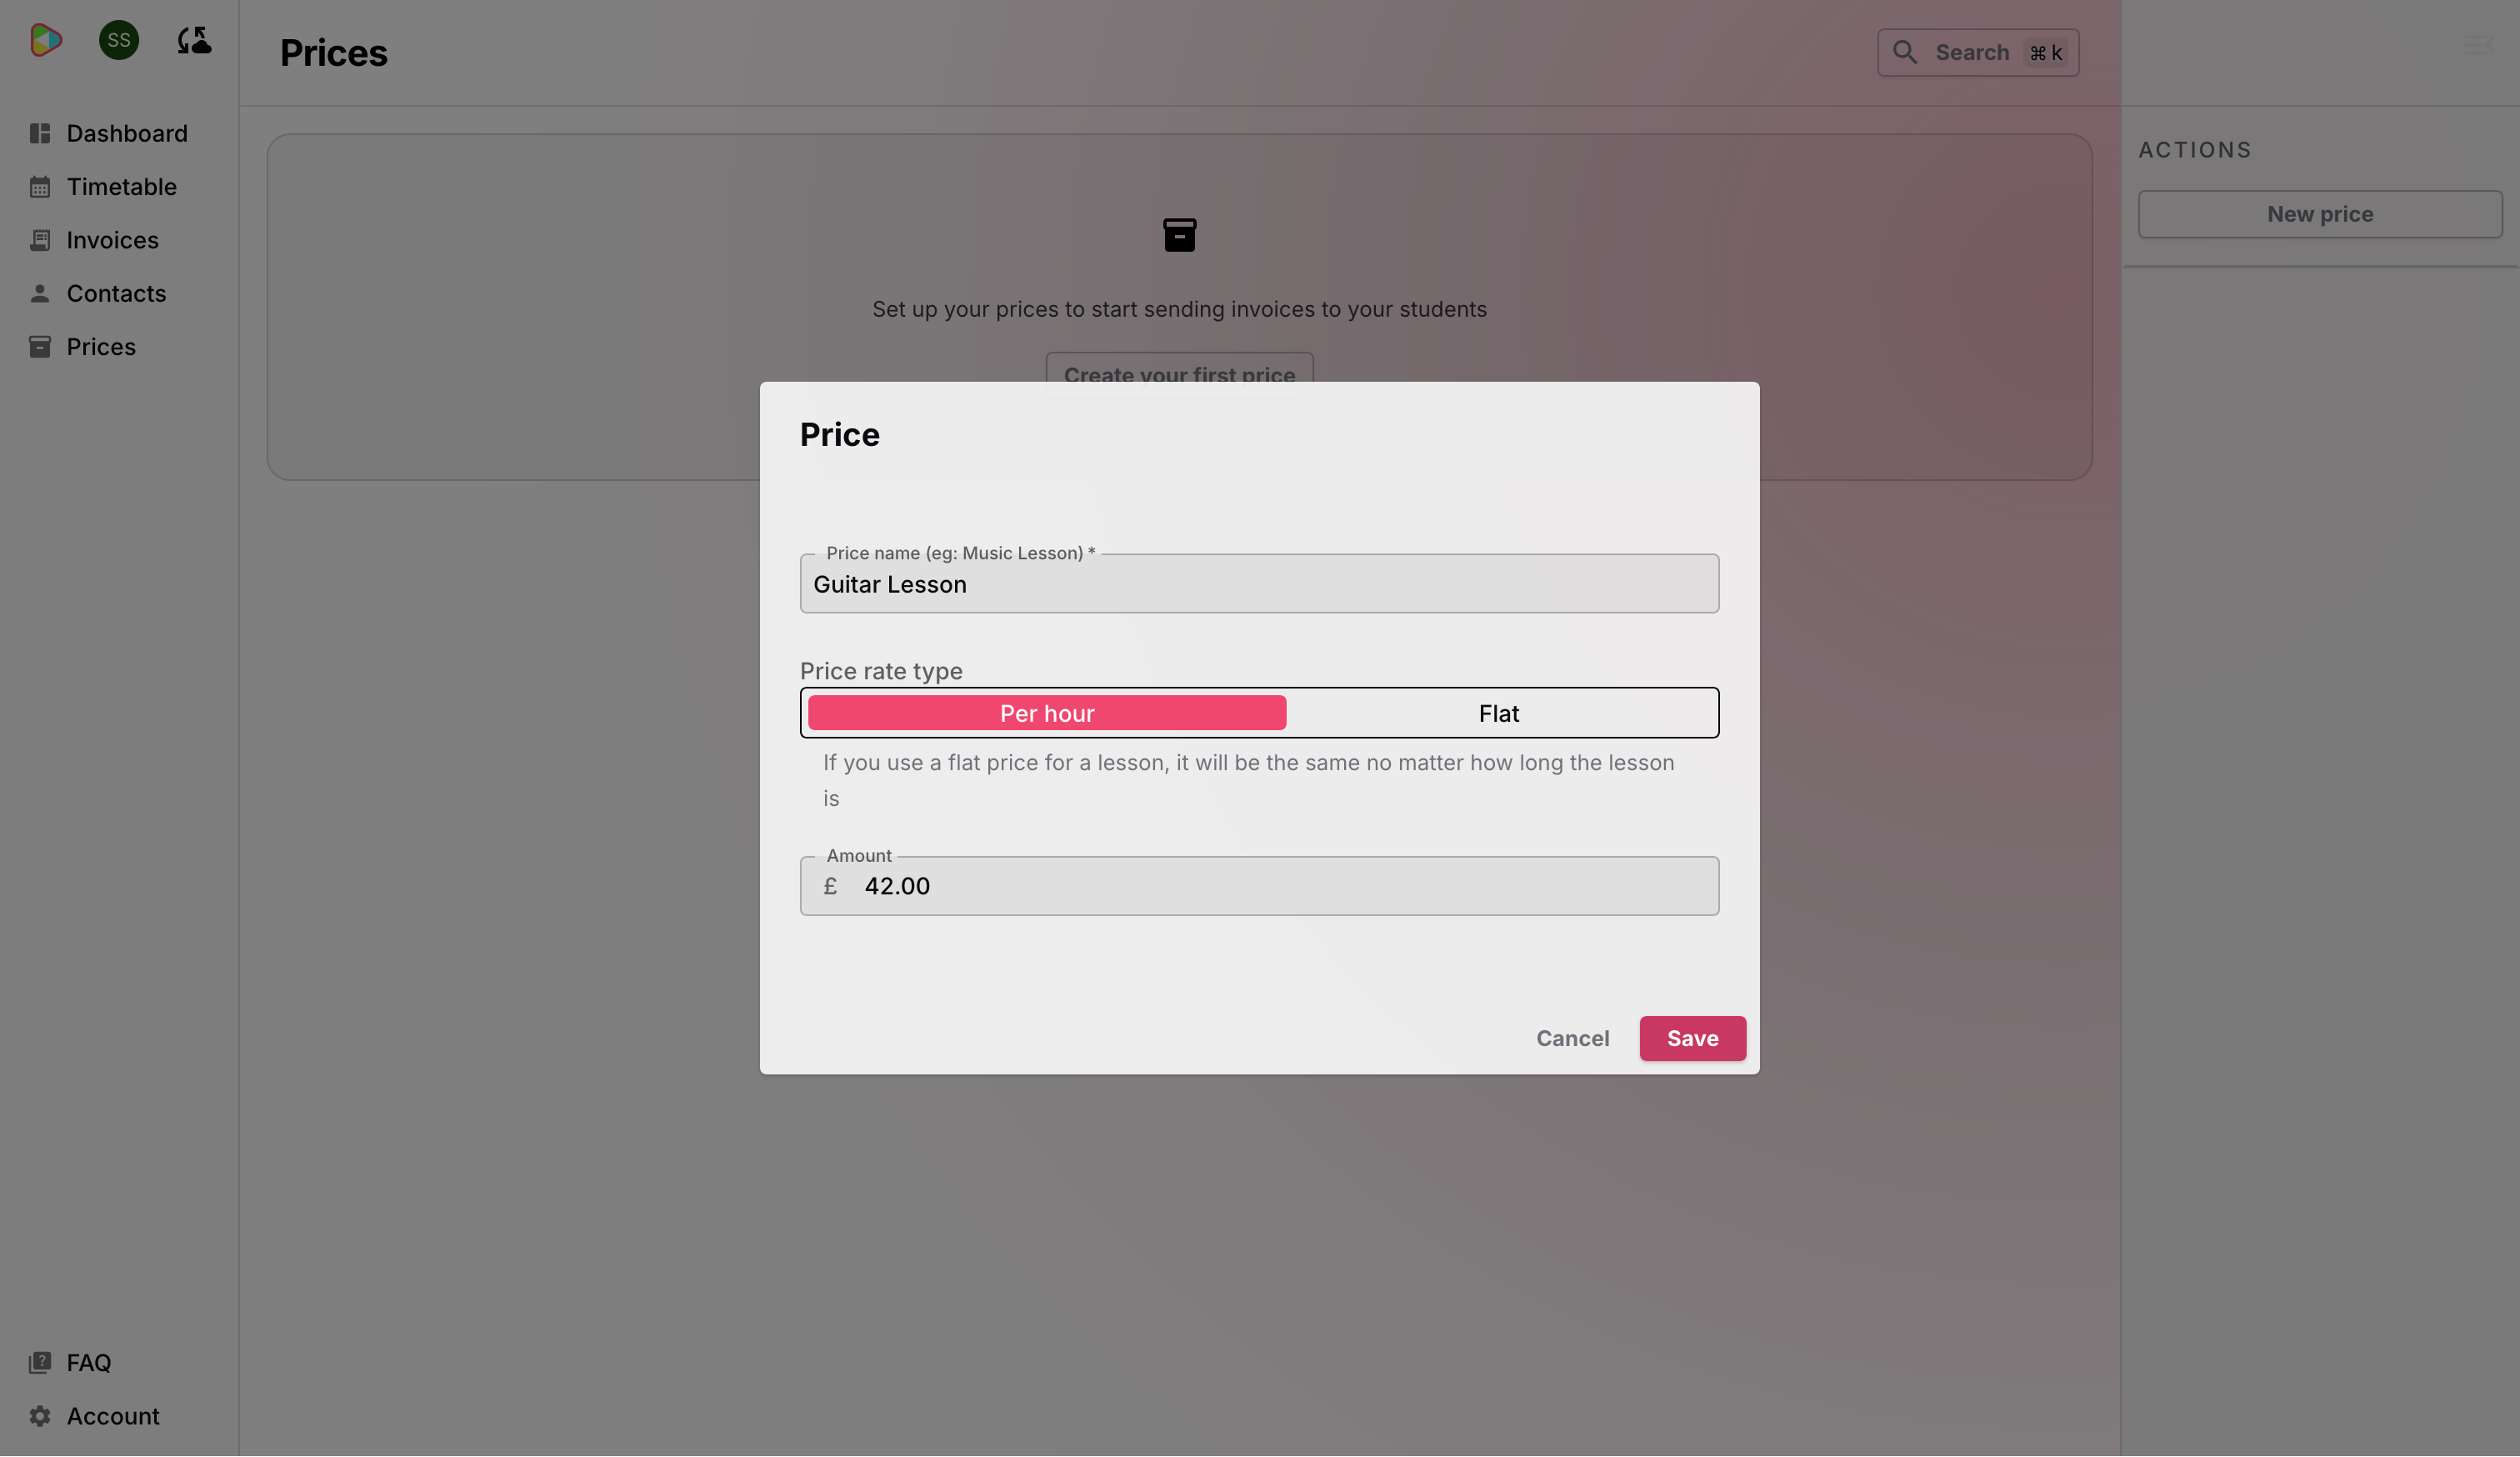
Before you can assign lessons to students, you need at least one price. Navigate to Prices in the left sidebar — on a new account you’ll see an empty state inviting you to create your first price. Click New price in the Actions panel on the right.
Give the price a name (Soni uses “Guitar Lesson”) and set the rate type. You can choose Per hour — where the final charge scales with the lesson length — or Flat, where the price is fixed regardless of how long the lesson runs. Enter the amount and click Save.
Once saved, the price appears as a card on the Prices page. Soni’s Guitar Lesson is set at £42.00 per hour.
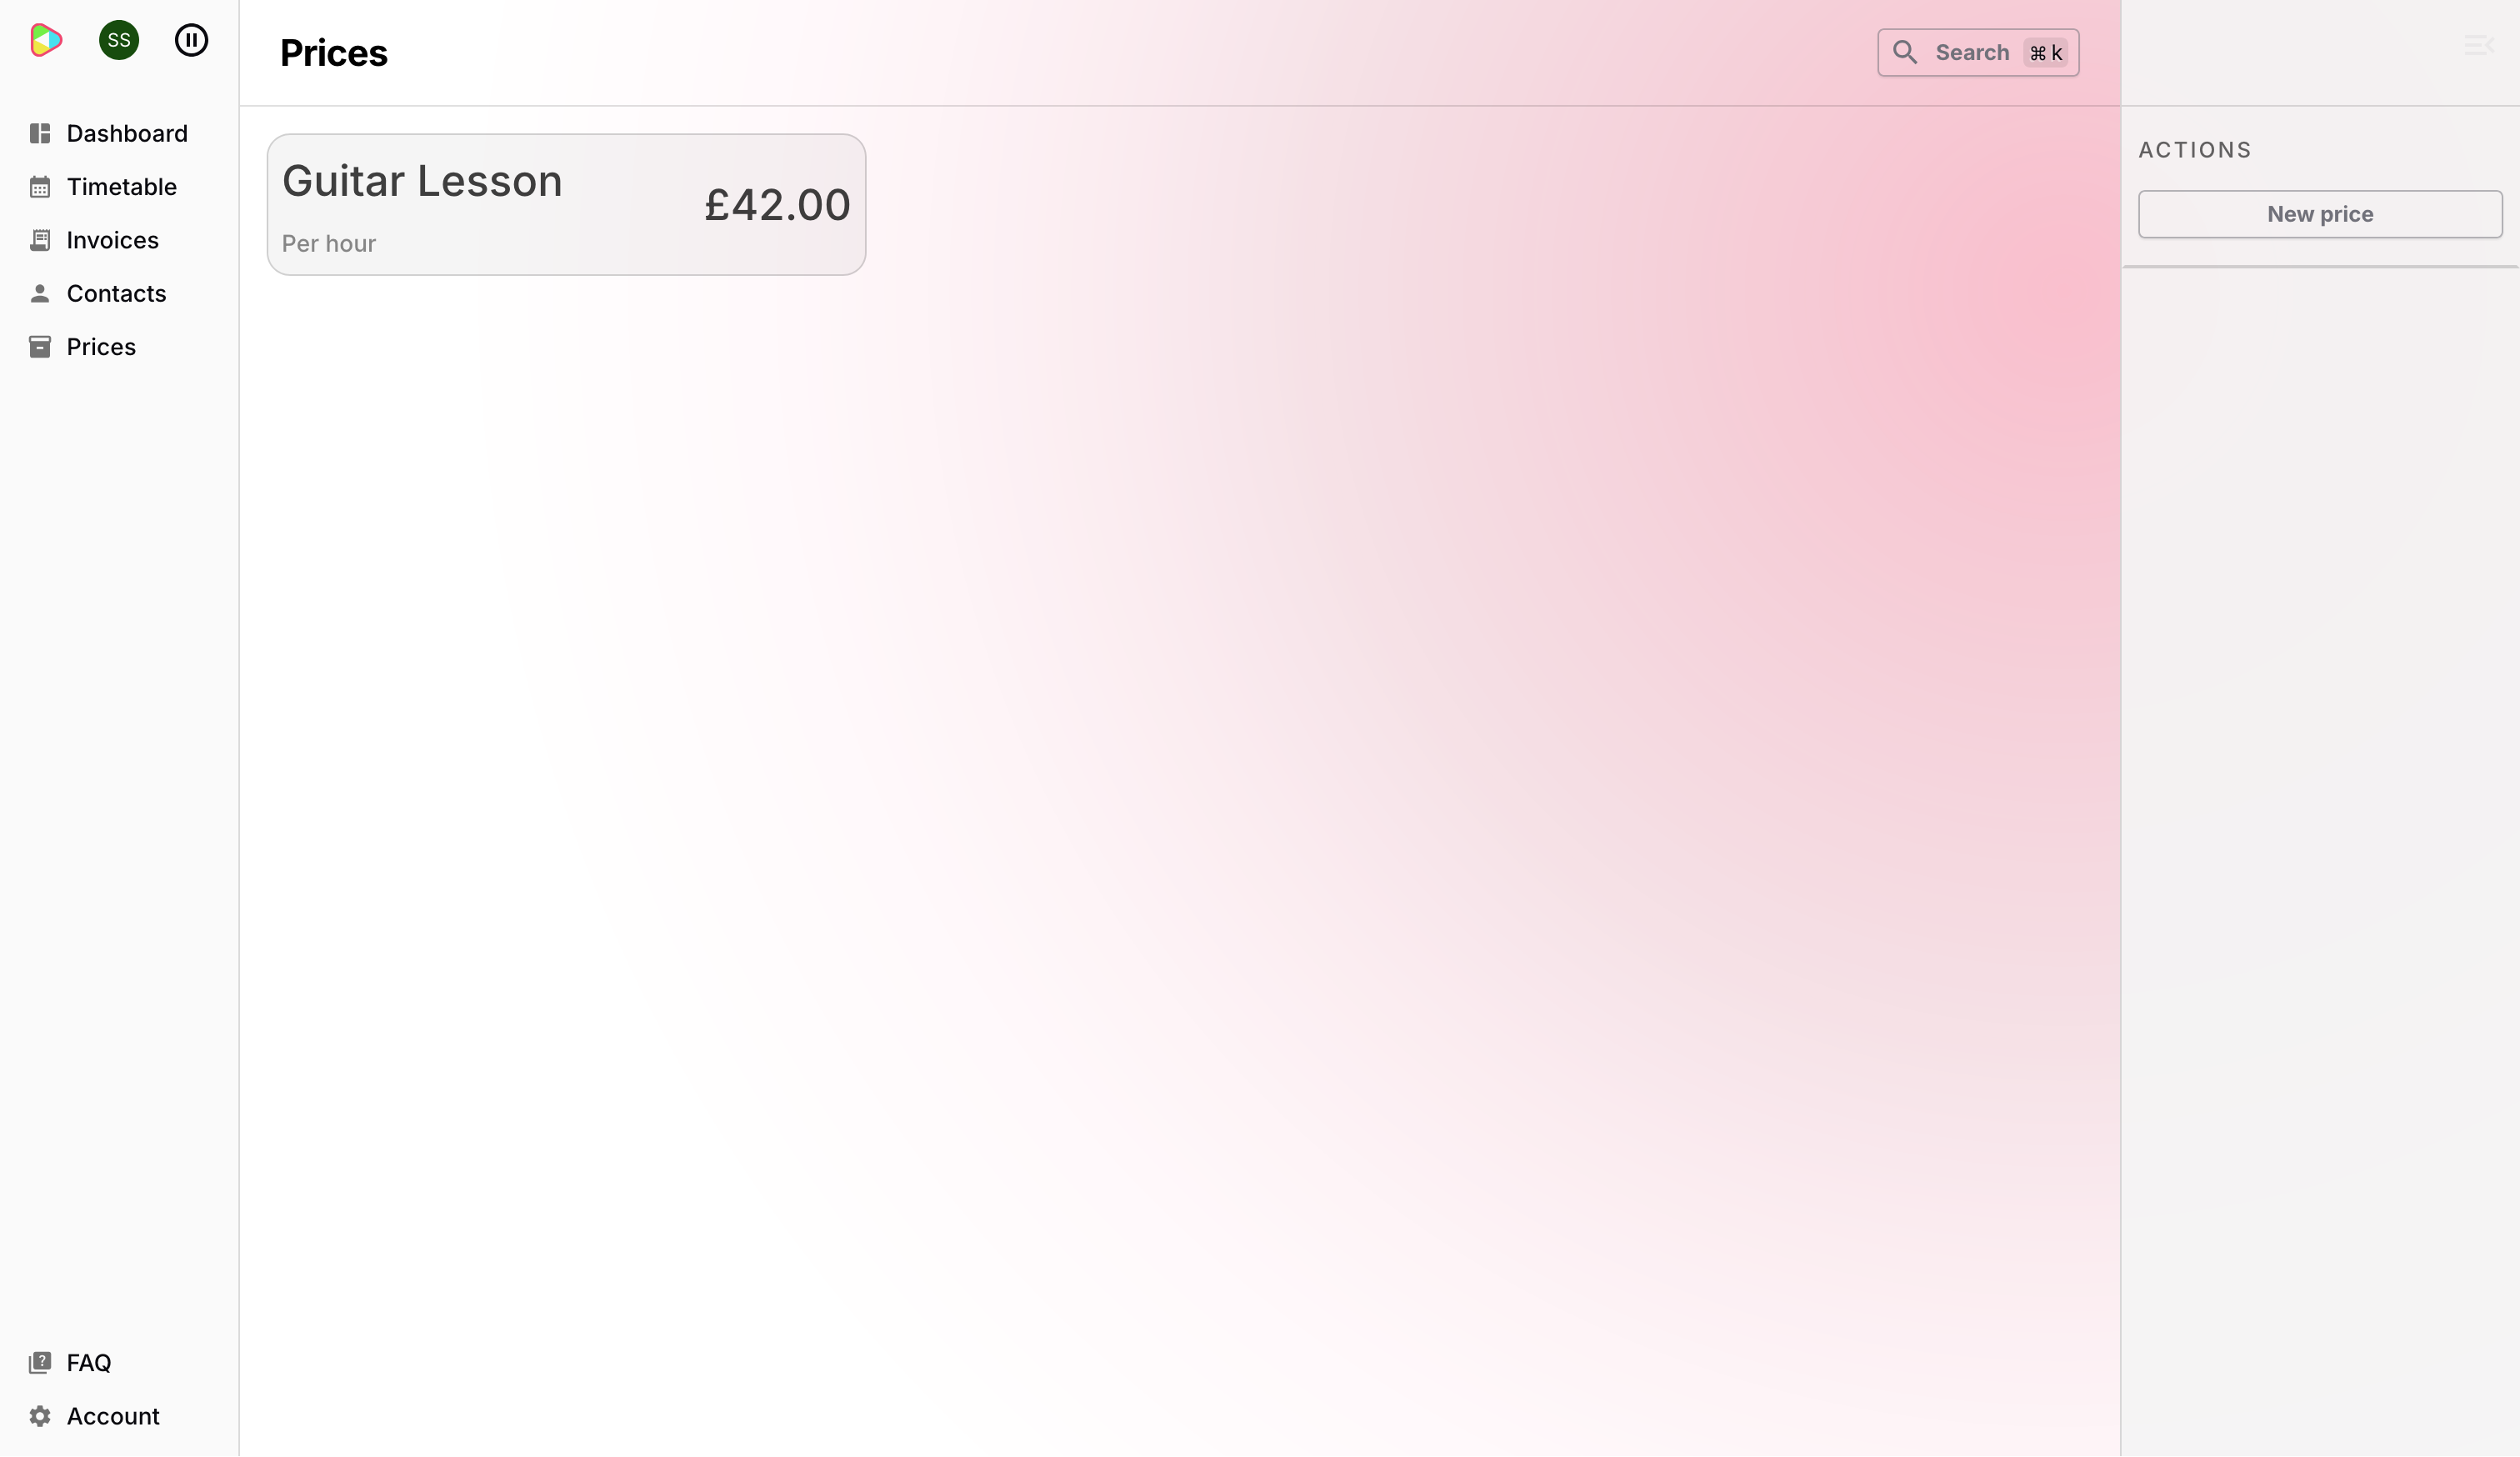
You can add as many prices as you need — for example a standard solo rate and a lower rate for group sessions. You can also update prices later so don’t worry too much about getting it right first time.
Step 2: Add your first student
From the Dashboard, click Add Student in the Actions panel, or navigate to Contacts in the sidebar.
Fill in the student’s full name and, optionally, their email address. No emails are sent to the student at this point — the address is used later for invoices and messages. Select a Lesson price from the dropdown; the prices you created in Step 1 will appear here.
You can leave the Lesson Price empty if you are not ready. You won’t be able to send them invoices but they can still be added to the timetable.
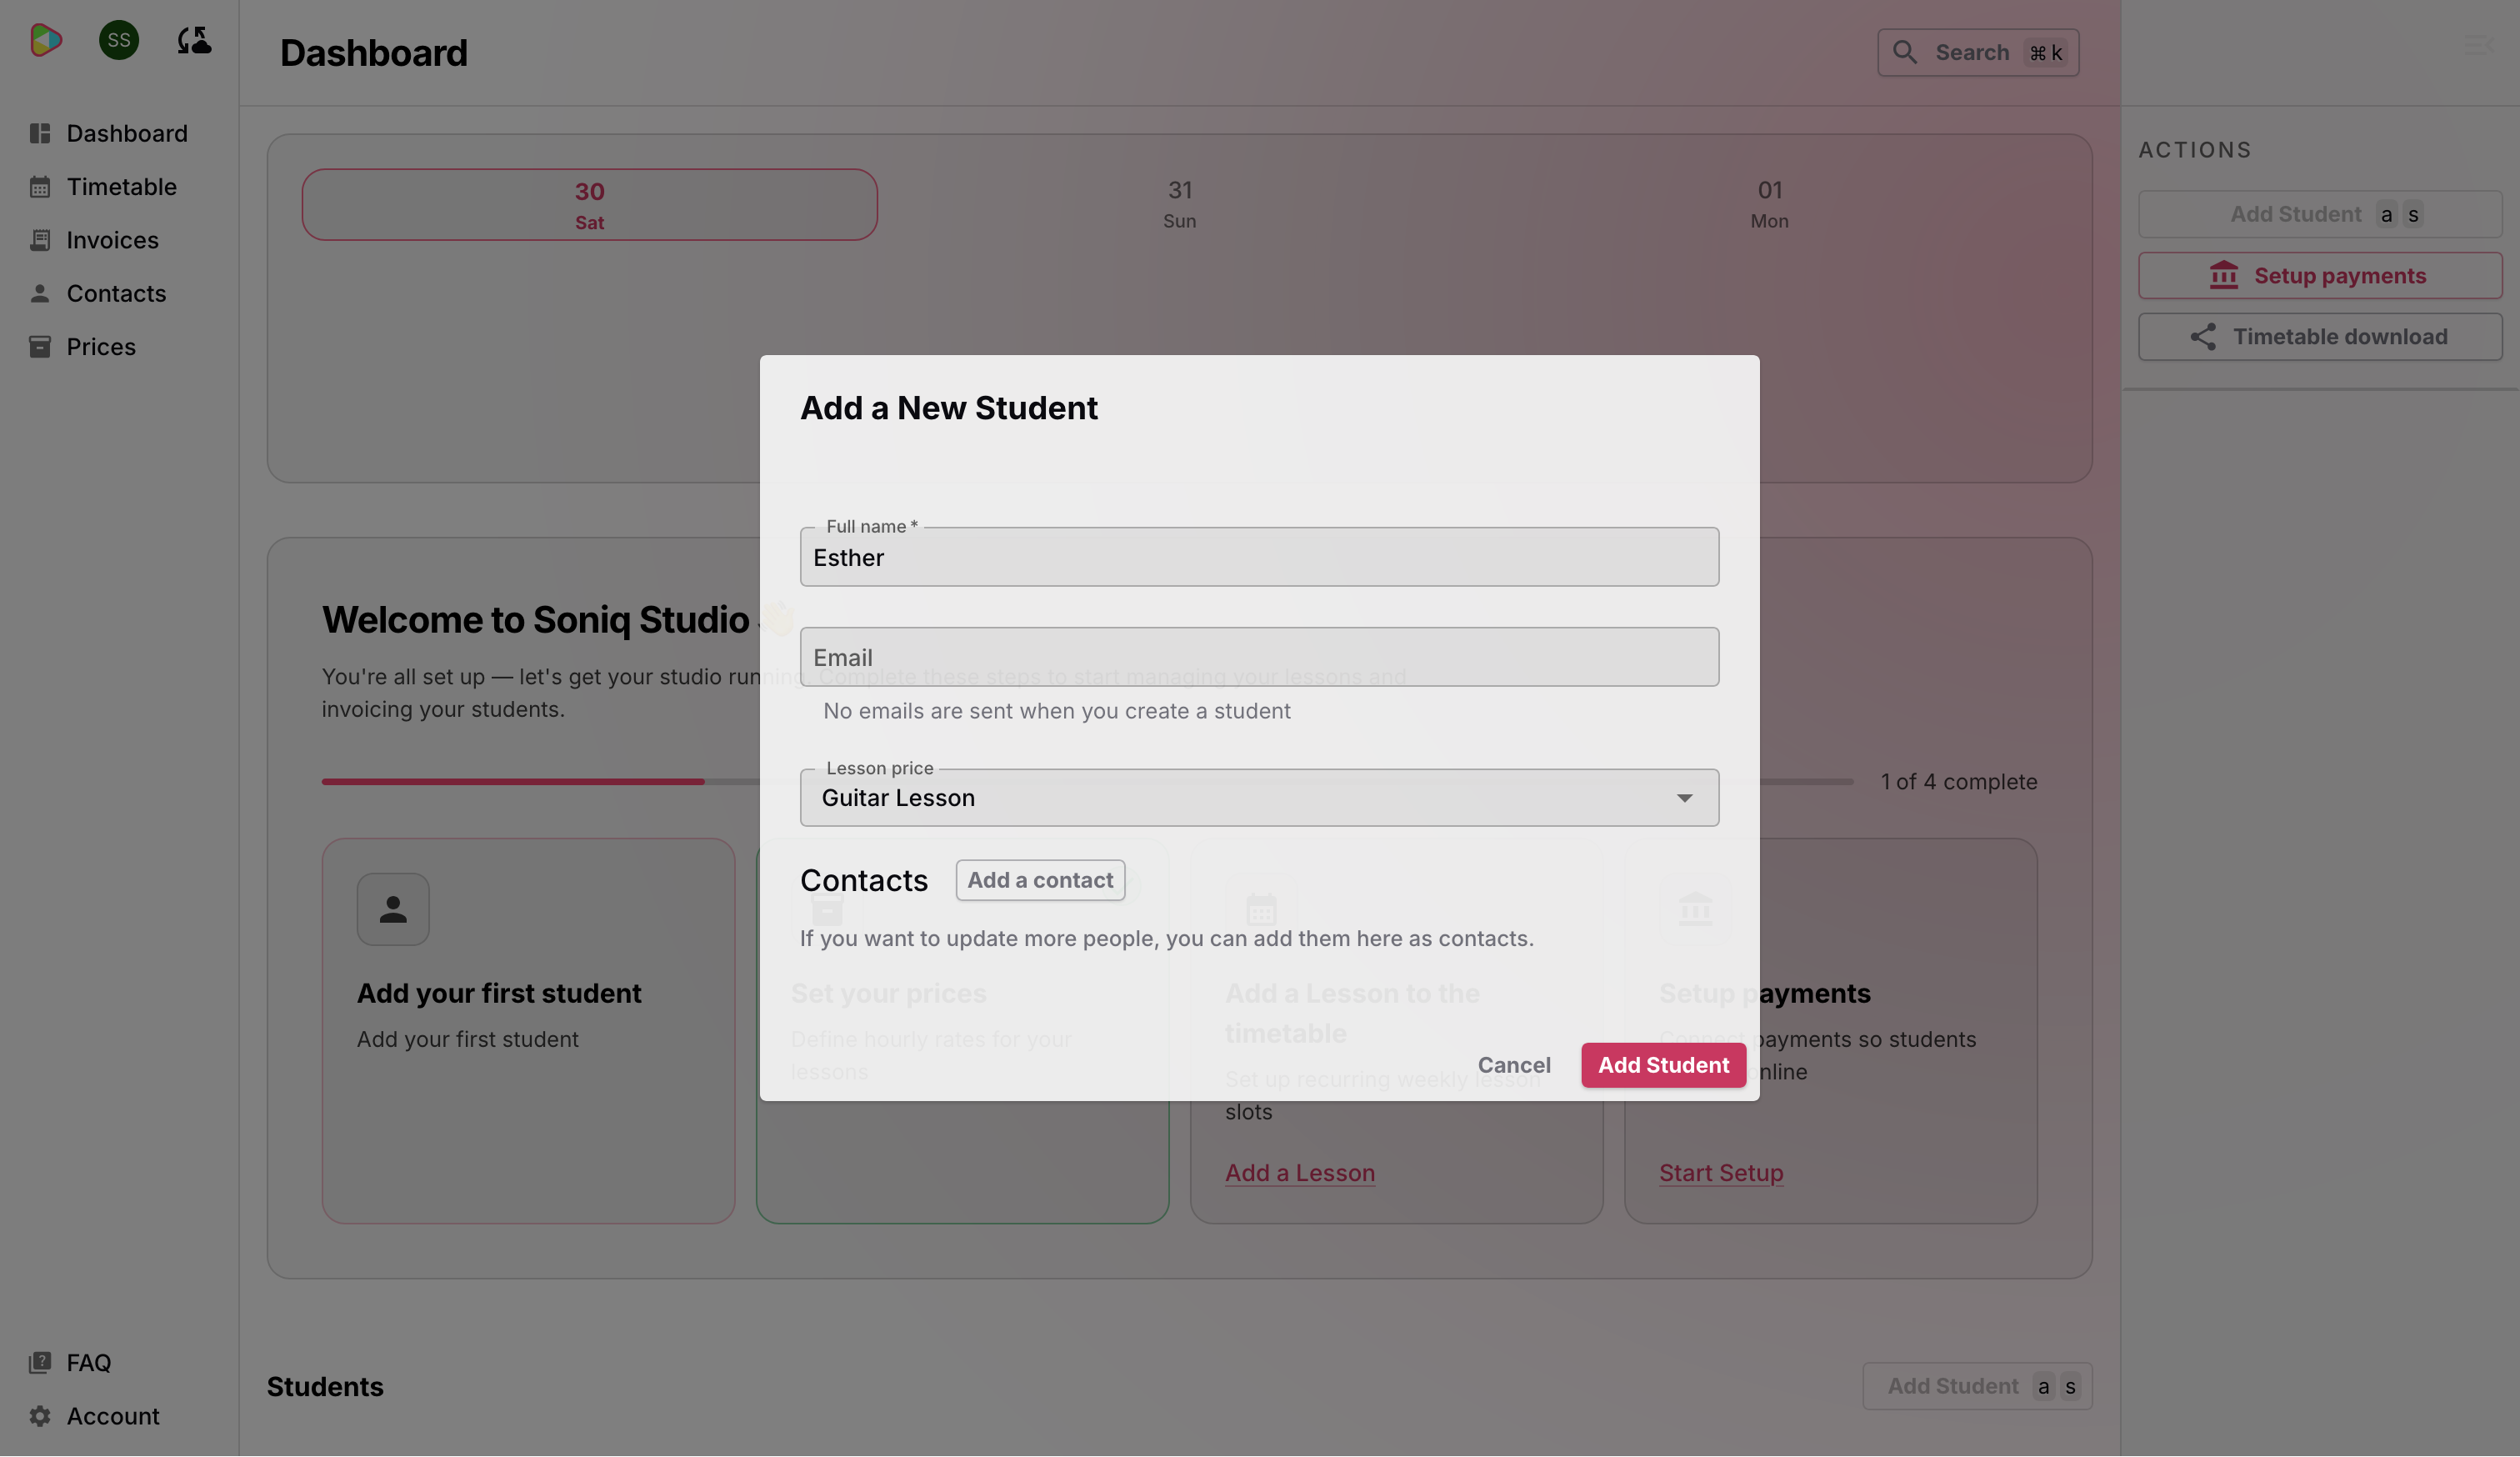
Once saved, the student appears in your Contacts list and in the Students section on your Dashboard.
Step 3: Add lessons to your timetable
With at least one price and one student set up, head to the Timetable view. Click any empty slot on the calendar to open the Create Event panel.
Set the start and end time, choose Lesson as the event type, and select the student. If this is a regular weekly slot, tick Recurring and set it to repeat every 1 week. You can optionally set a stop date, or leave it open-ended and cancel individual lessons as needed.
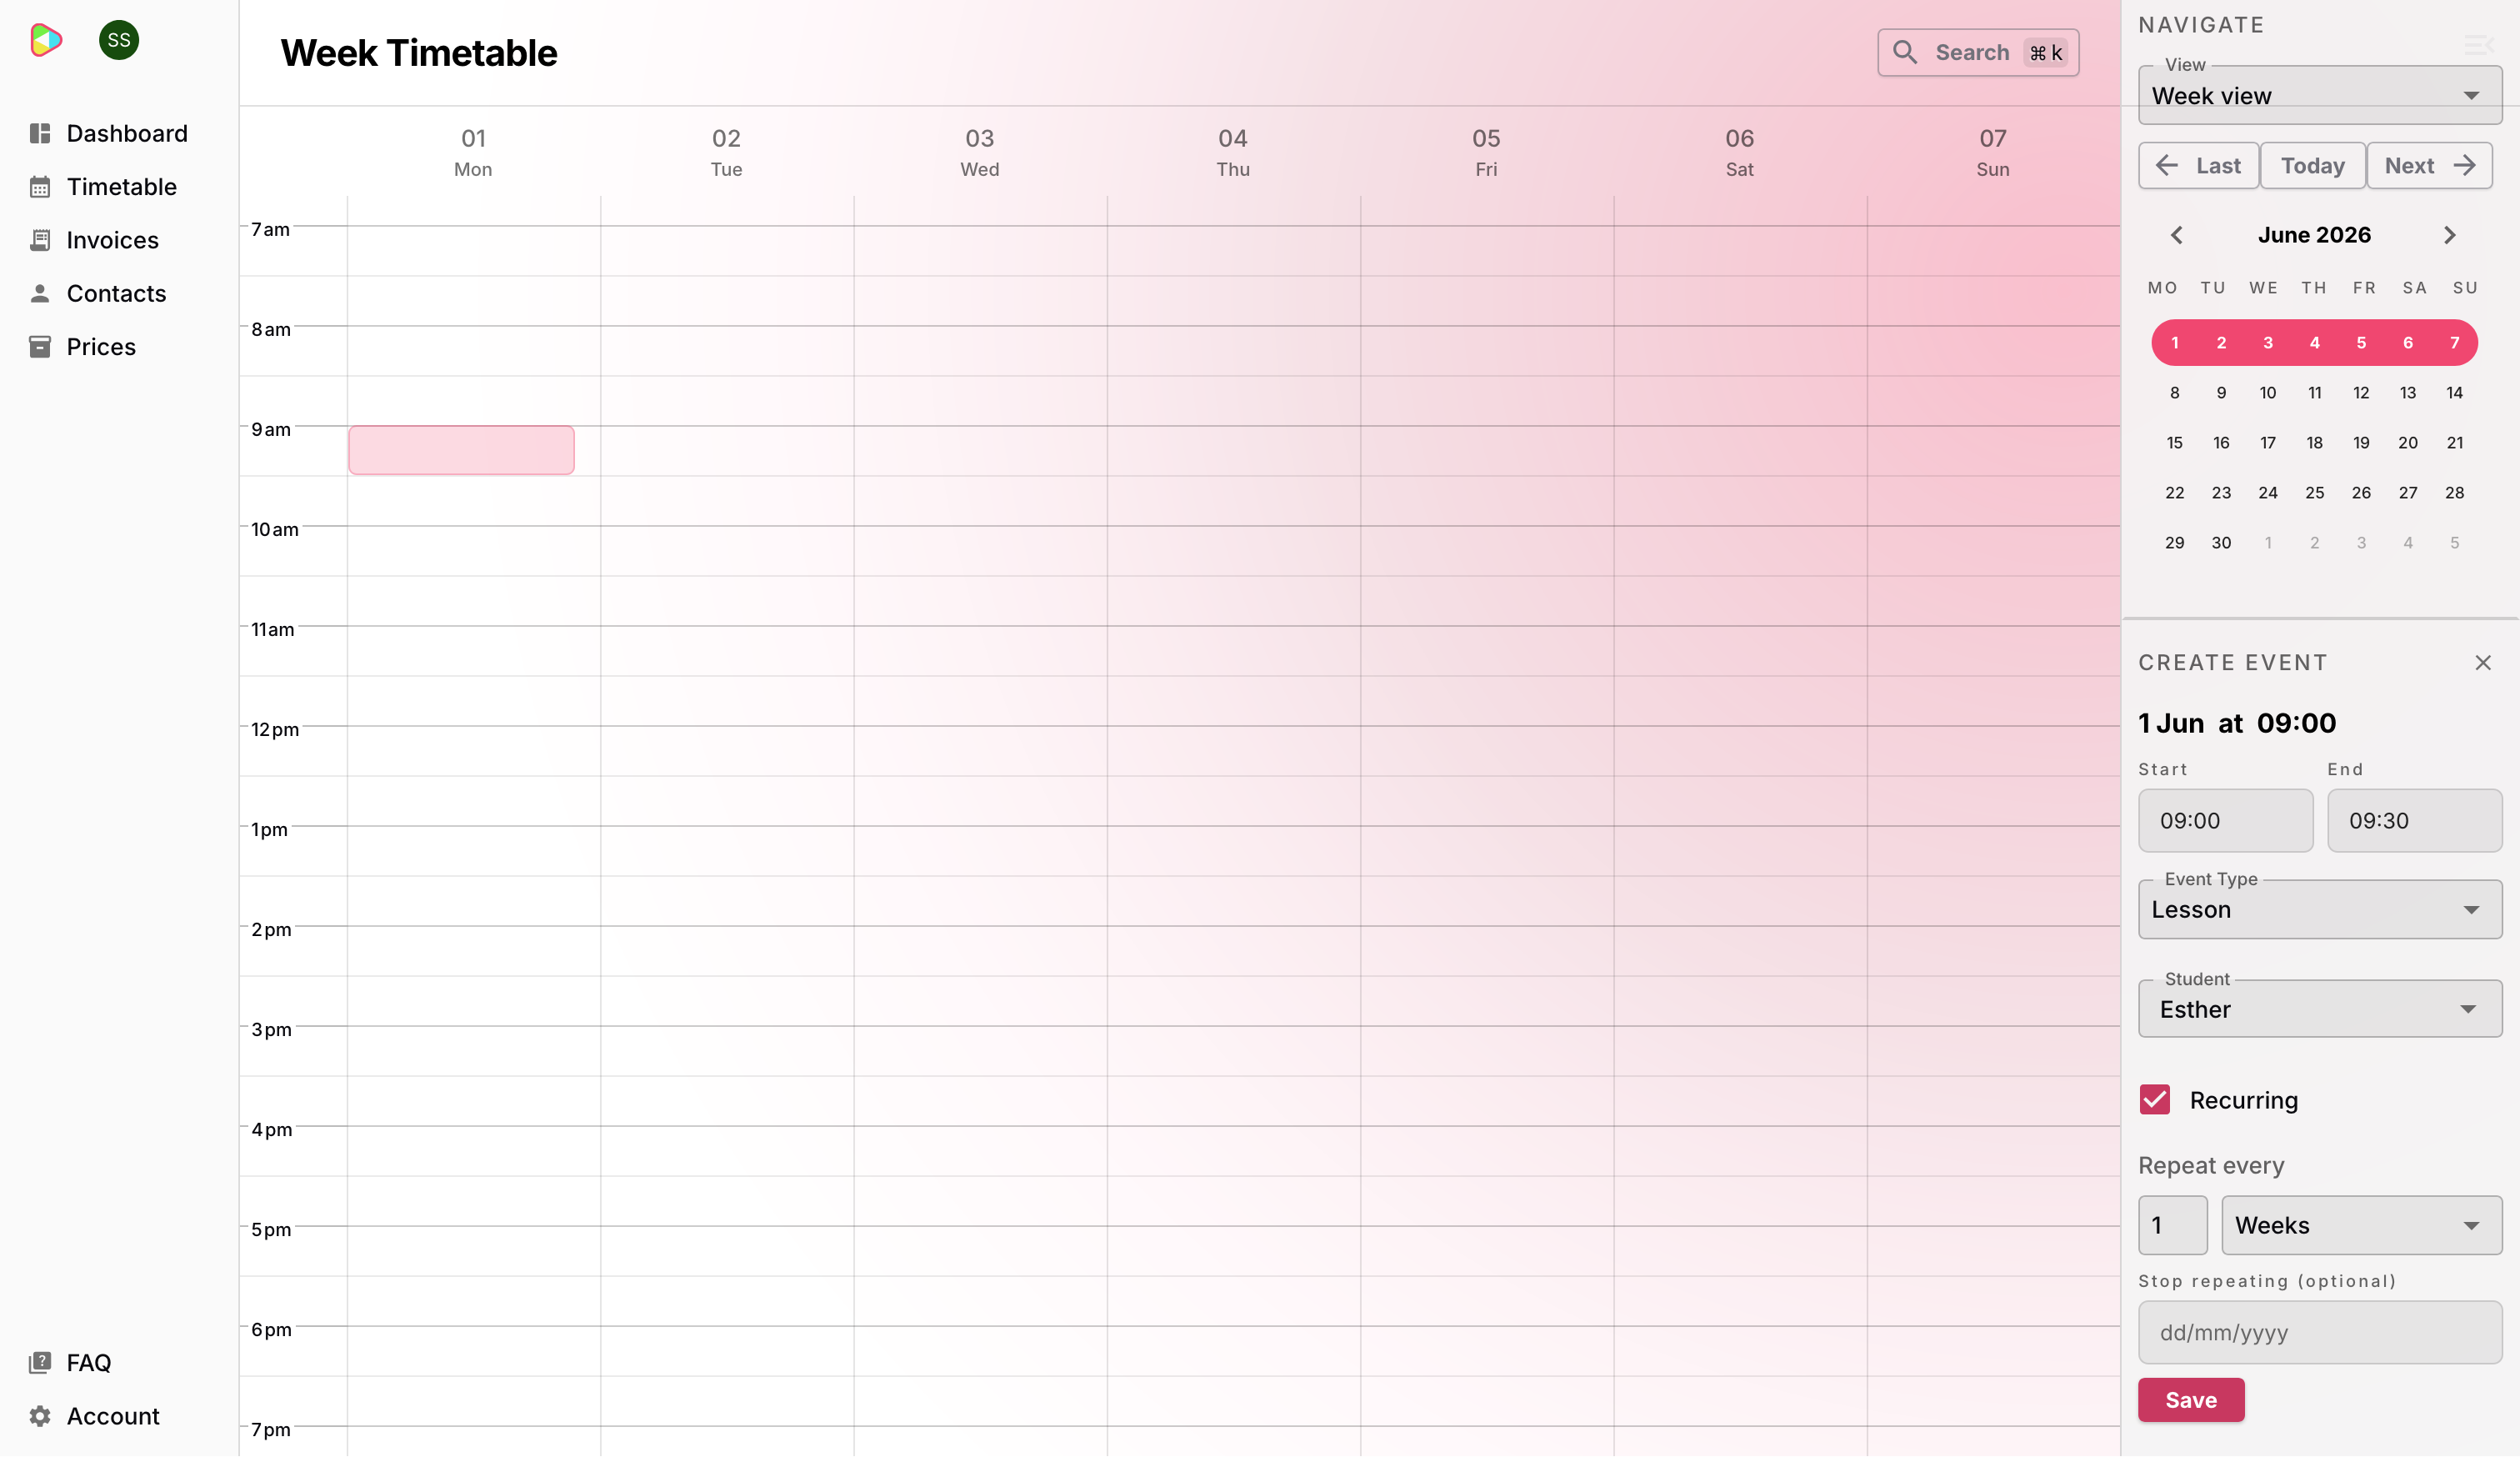
Click Save and the lesson is added to the timetable. Recurring lessons are created as a series so you can edit or cancel individual instances without affecting the rest.
That’s your timetable up and running. The next step is connecting payments so you can send invoices — take a look at Setting Up Payments when you’re ready.